How to cut a Worktop to Length in kitchens & bathrooms
Cutting a Kitchen counter with a Circular saw, Plunge saw and a Router for a perfect finish
Once your worktops have been planned/set out you can start to cut worktop to length ready to join or edge them up.
Tips on this page on how to:
- Cut worktops with a Circular Saw
- Cut Worktops with a Plunge Saw
- Cut worktop to length with a Router
Why so many tools and when should you use each one!?
Each tool serves a different purpose and provides a different level of finish. Importantly, having new, razor sharp blades in each will also help you achieve the best finish.
I always cut edges that will be seen, joined to another worktop or finished with an edging strip with a high speed Router because this will give you a perfect machine finished edge like you would get in the workshop.
Often I will cut the counter roughly to length with a circular saw because it is quicker. Doing this may make it easier to move the heavy worktops around - especially if I am scribing one end in to a wall and working alone. It is not neat enough to be seen as a finished edge though no matter how fine your blade.
A circular saw can chip the Formica surface, may leave teeth marks and a less perfect edge, so I only use this when rough cutting to length or when the edge will be unseen - covered by tiles for example. It is also possible to use a circular saw to carefully cut the hob or sink recess out as those edges will be covered.
Not everybody has a Plunge saw as they can be expensive to own if you are not going to use it regularly enough. But this type of saw will make setting out and cutting worktop to length so much quicker, neater and more accurate than a standard circular saw.
How to cut worktop to length with a circular saw
As mentioned before if the edge you are cutting will butt into a wall and therefore be covered by tiles and/or a silicone sealant joint you may be able to save time by carefully cutting it to length with a circular saw. First check the wall is perfectly square with a large framing square. If not you will need to allow for this when marking out.
Unless you have a plunge saw with guide rail you will need to cut the worktop upside down when using a circular saw. Circular saw blades cut in an upwards direction so doing this this will prevent the blade tearing the face of the counter as it comes through the surface of the counter top. As the worktop is upside down, it will cut cleanly through the good side and tear up the bottom that will not be seen.
To start, turn the worktop upside down and have the front edge (Bullnose for example) facing you. Mark out the measurements remembering to allow extra if the wall isn't square, ensure the worktop is supported well and will not move once the cut is made (including the scrap side). This is important because otherwise as you get most of the way through the last part may break rather than cut if not supported correctly.
It is worth clamping a straight edge on and using that as a guide to ensure the cut is perfectly straight. In this instance you will need to measure the distance from the saw blade to the saws base that will slide along the straight edge. Check the straight edge is in the correct position by setting the blade depth at zero (flush with the bottom of the saw base) and placing against the straight edge at each end of the cut (front and back of the counter). Once happy, make several passes (3-4 is usually enough) getting deeper each time.
How to cut worktop to length with a plunge saw
|
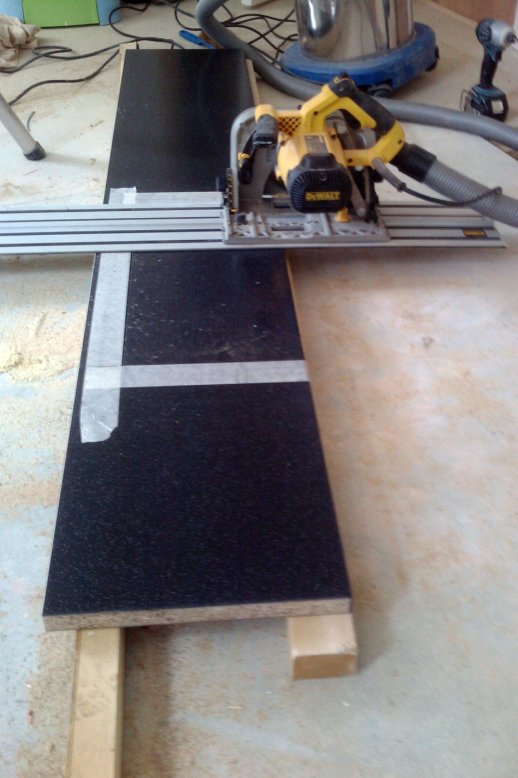
If you have a plunge saw, Great! You don't need to turn the worktop upside down before cutting it. If the worktops are a dark color although sometimes I will do this anyway, place a strip of masking tape on the worktop where you need to mark it. This will make the pencil lines much more visible. Next, place the rail up to the pencil line so it is on the side that you are keeping. Use your clamps to clamp the rail in position and set the saw blade to 8-10mm deep. Always start the saw away from the material and once running at full speed and starting from the front edge of the worktop cutting towards the back slowly cut the worktop. You will need to make 4-5 passes getting slightly deeper each time until you have cut the worktop all the way through. |
 |
If you can use it often enough to justify the cost you should definitely treat yourself to a plunge saw!
Amazon sell Plunge Saws click here to see the latest deals
How to cut worktop to length with a router
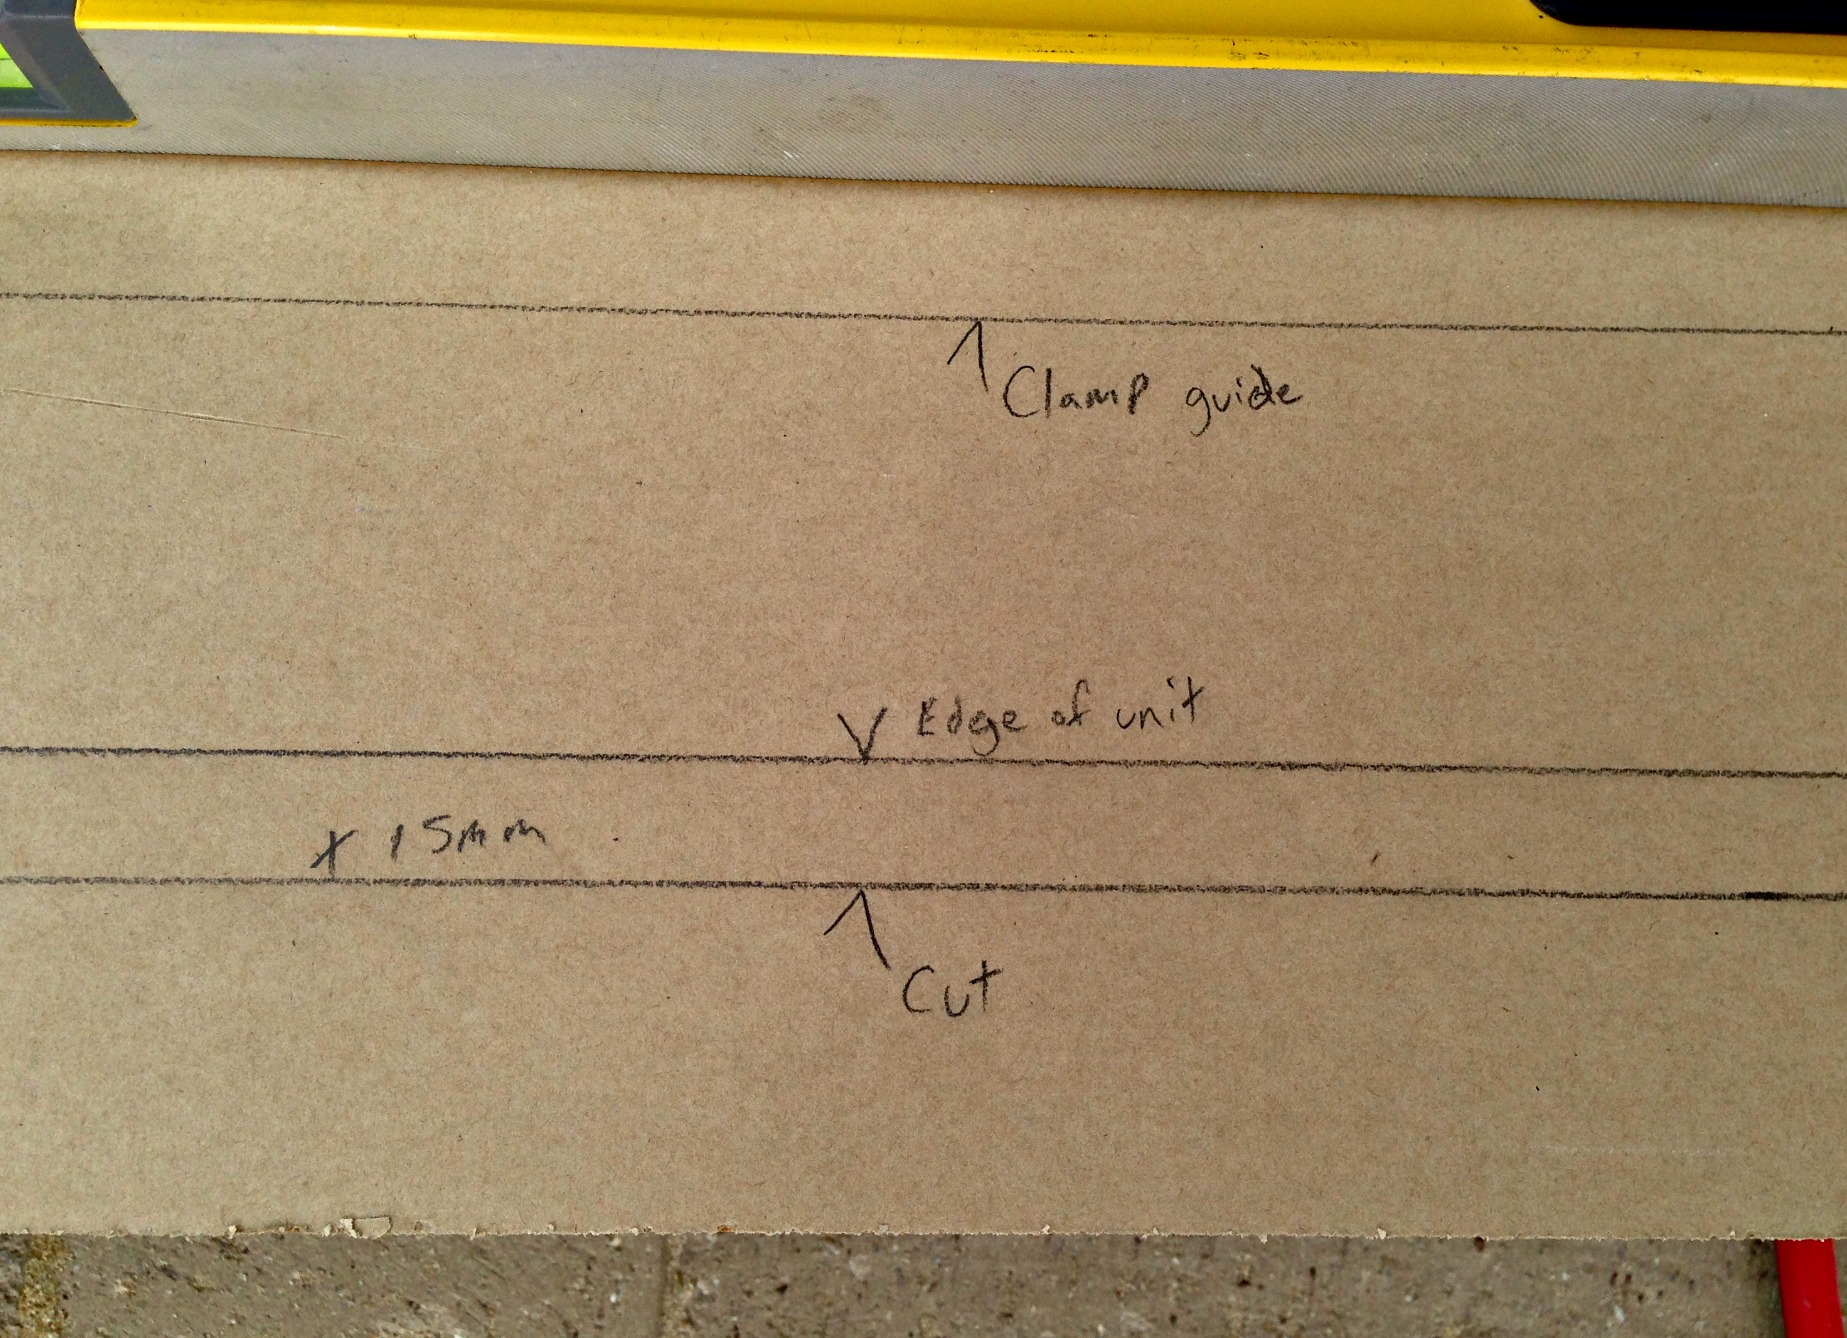
The picture above shows my marking out for a cut I'm making with a router. This edge will be seen and slightly hangover the edge of the base cabinet. It is really important to remember to allow for an end panel if one is being installed and not yet fitted to the cabinet.
These are the marks you can see:
- Edge of unit
This is the end of my base cabinet including the end panel that will cover it. Don't forget to allow for the thickness of an end panel or anything else before cutting to length!
- +15mm / Cut
Here I've added 15mm to the length of the cabinet which is where I want to make the cut. There will be a 15mm overhang along this edge from the last cabinet/end panel.
- Clamp guide
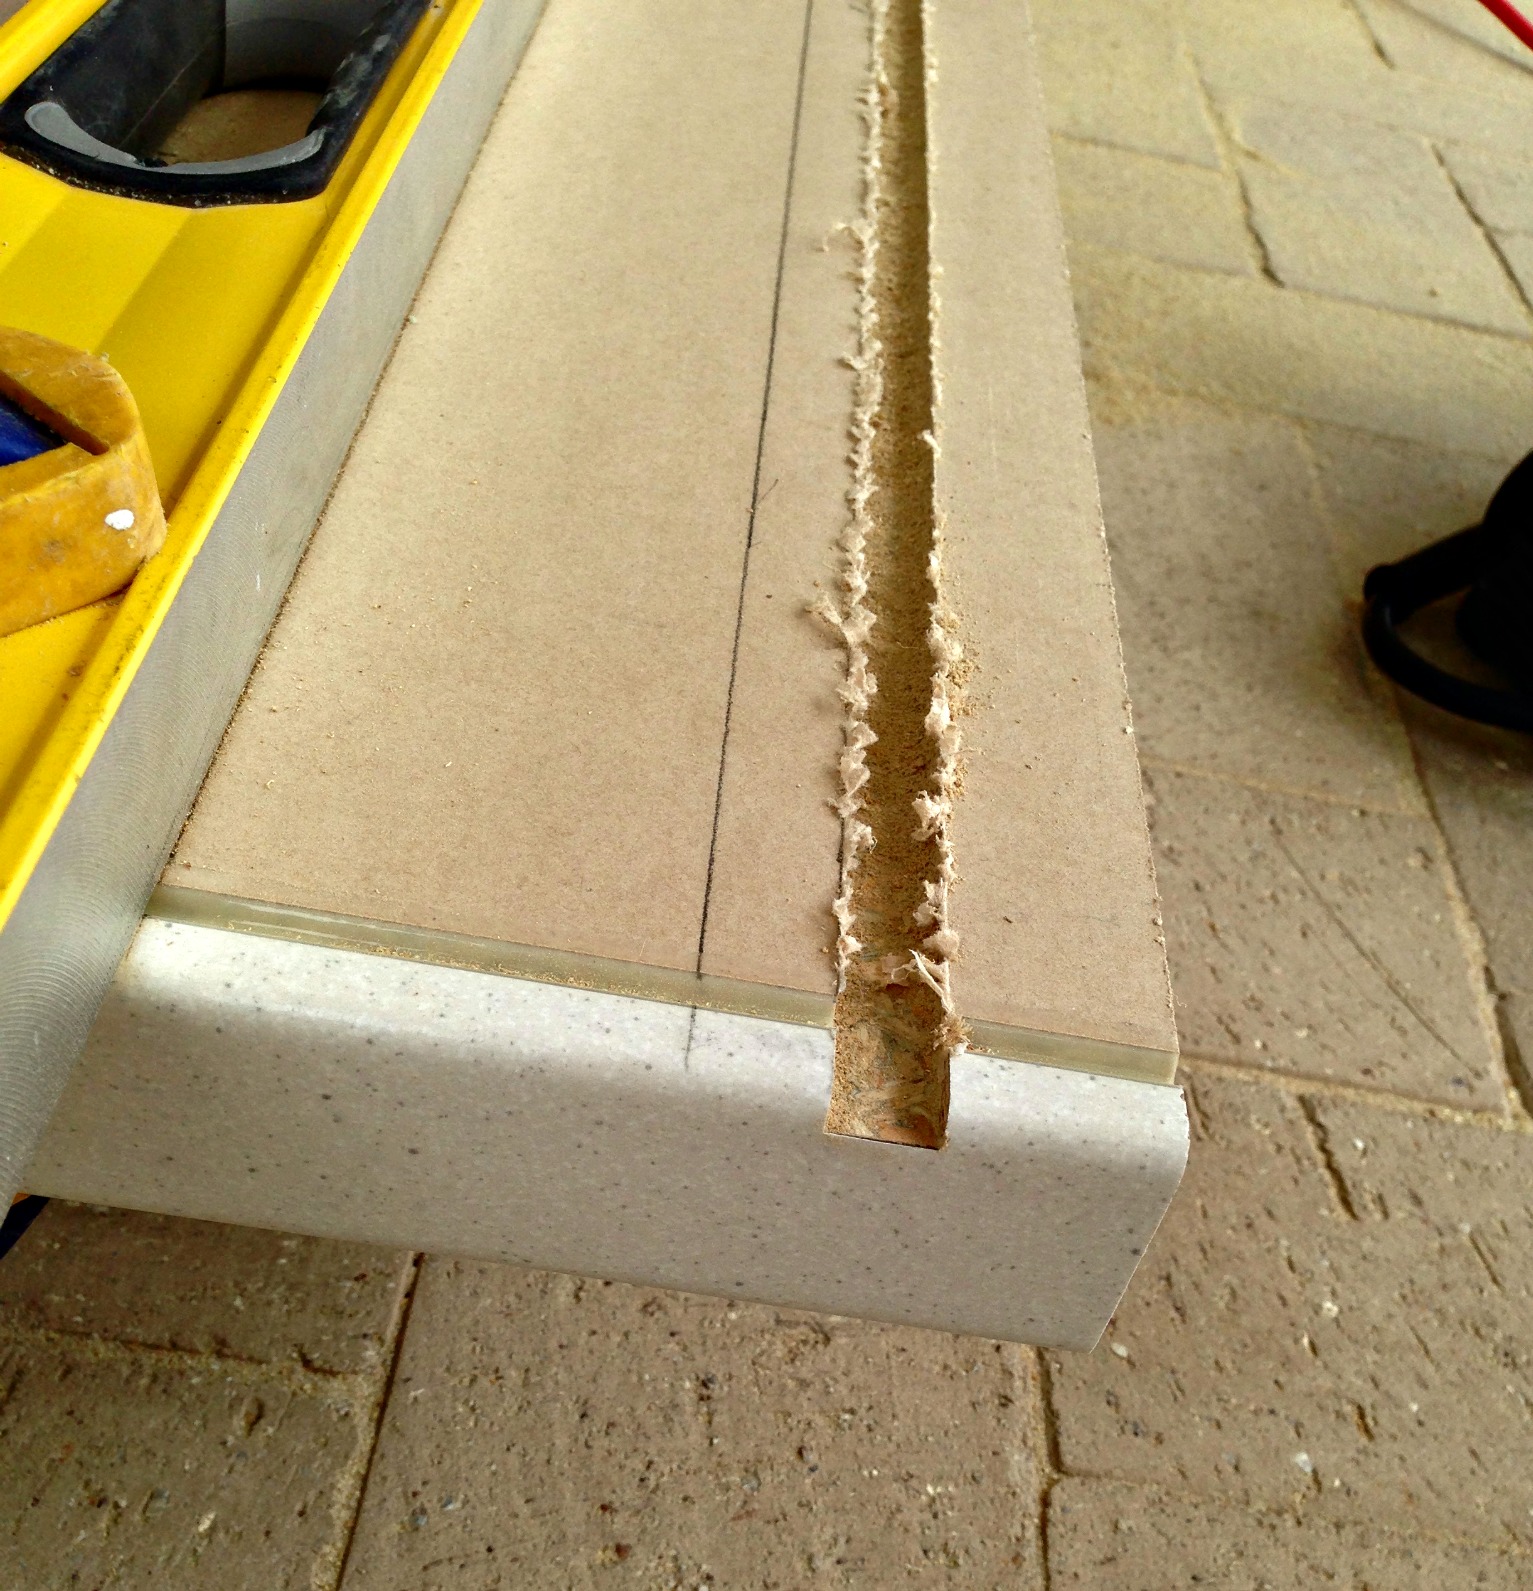
Now I've measured back from the cut edge the distance from the edge of my router cutter to the edge of the router base that will slide along the straight edge. Use the round part of the router base not the flat section. Clamp a straight edge like a worktop jig or a spirit level to this line.
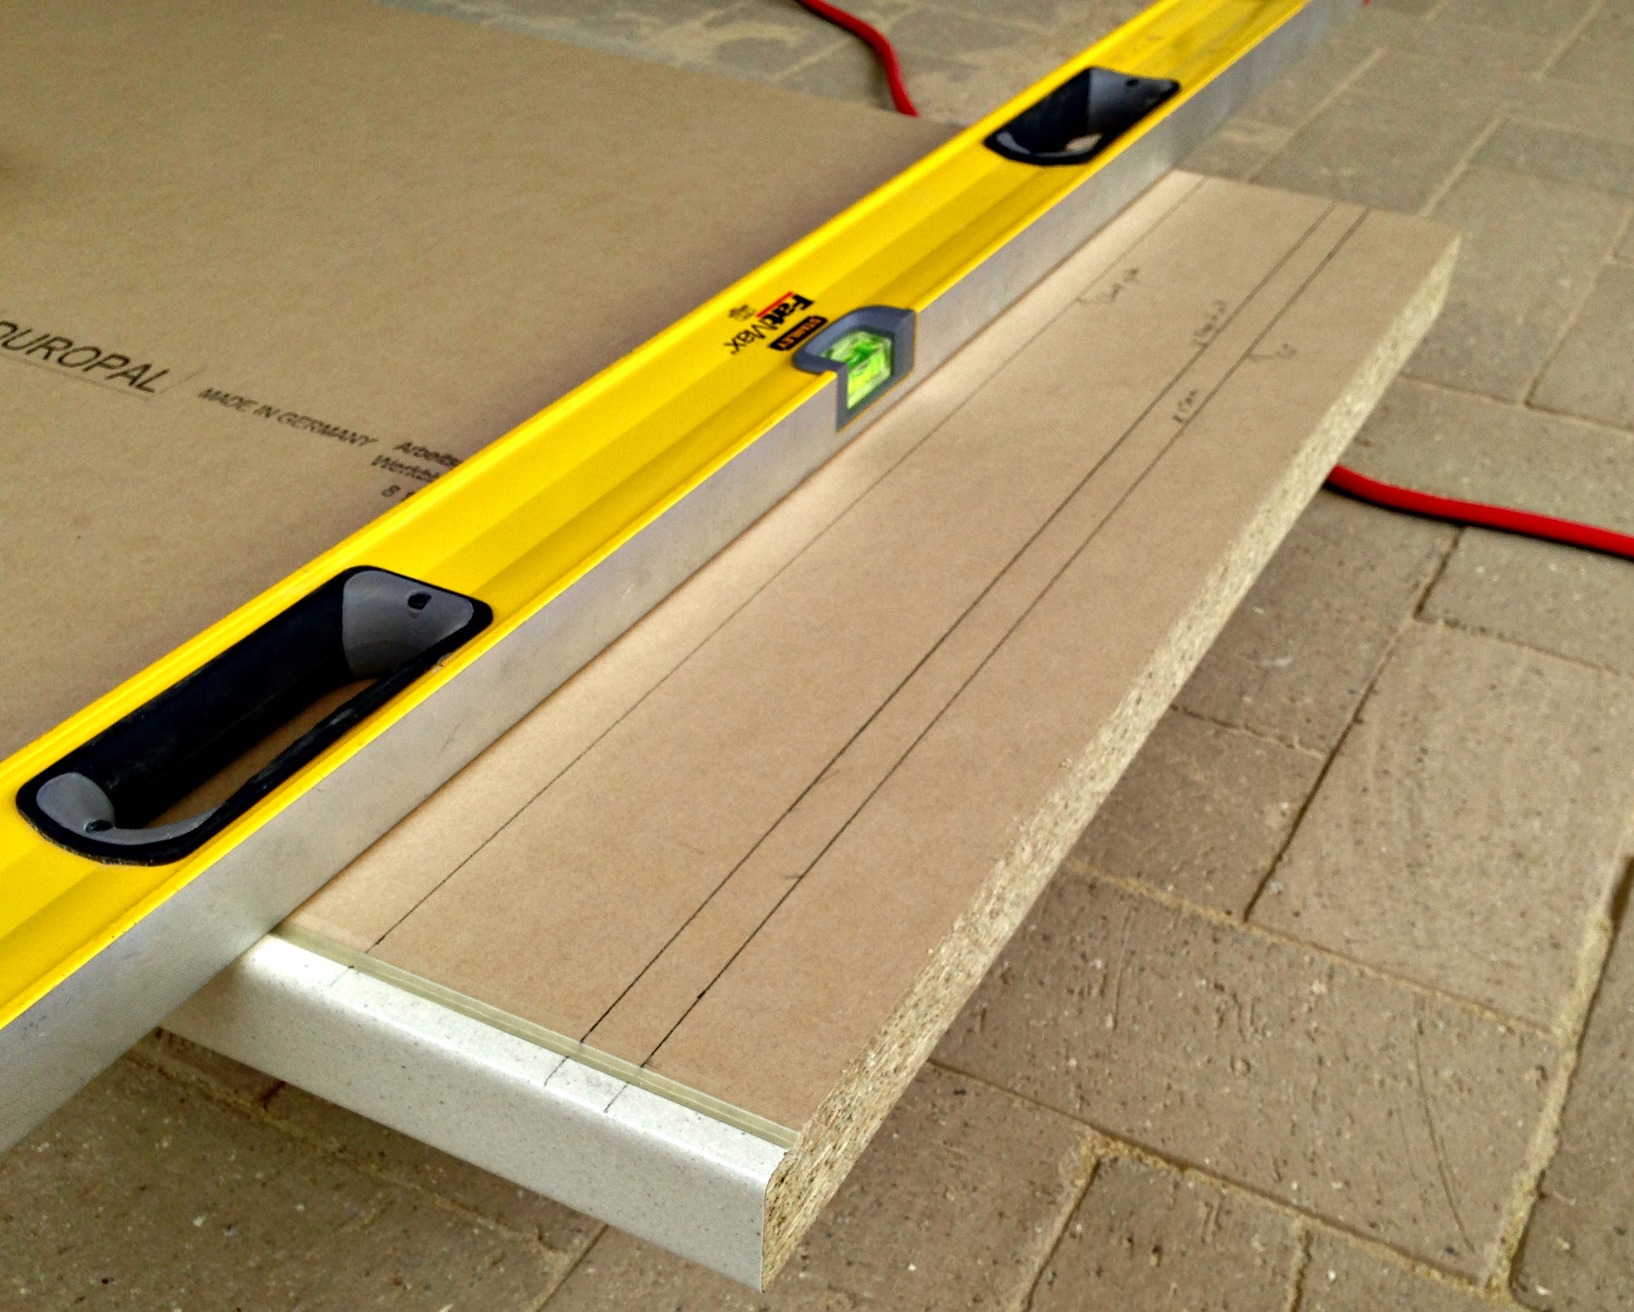
In order to check the guide is in the right place, set the cutter so it is flush with the routers base plate. Place the router against the straight edge and check it is perfect at both ends, adjust if neccessary.
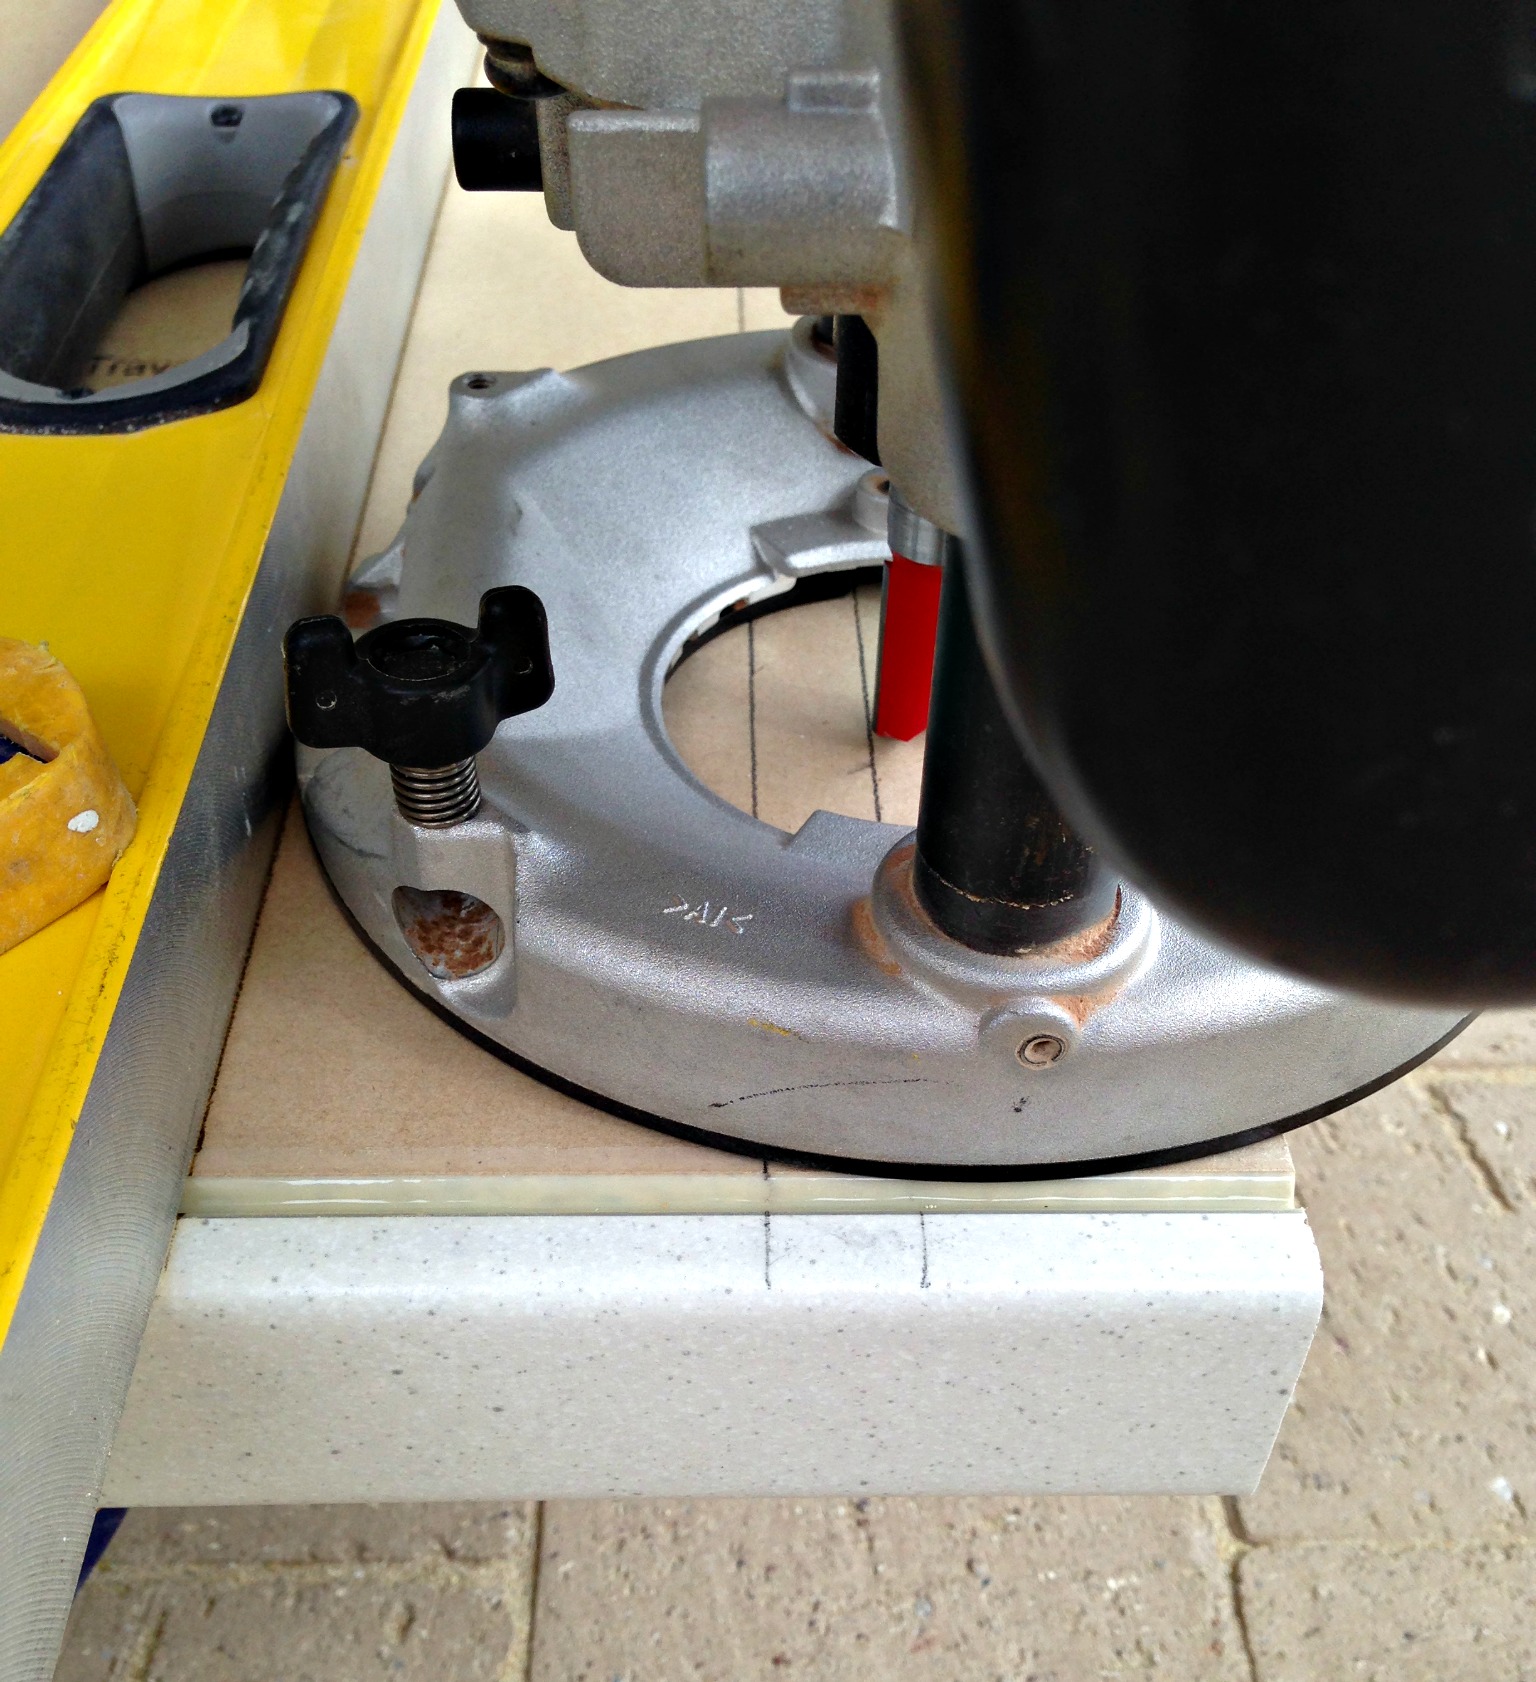
Set the depth of the cutter to 5-8mm and when the router is at full speed start to cut worktop to length by sliding the router along the straight edge. Make several passes getting deeper each time until all the way through. The router should move through the worktop very easily, if you need to push it too hard then you are cutting too deep and the straight edge may move under the pressure. Adjust the blade so it is less deep.
* Sorry this page is still currently under construction *
Have a question or comment about how to cut kitchen worktop to length?