I install laminate flooring to a showroom standard every time, it is really easy when you know how
Follow these simple DIY tips & tricks to lay floating click together floors perfectly, including tips to help lay the floor on your own
When you install laminate flooring, two of the most important things to get right are where you choose to start laying the first boards, and which tools you use to cut laminate flooring with.
Start your flooring install right by laying the first row straight
There are two things I generally consider before I decide on laying the first row to start the installation. Which is the straightest wall, and which is the trickiest area to deal with?
There's a bit of a judgement call to make. Ideally, in a normal square room I start laying the floor on the longest, straightest wall if it's parallel to the direction I want the floor to run (I generally lay the floor to run in the same direction as the light coming in). Once you have two or three straight rows clicked together it's usually plain sailing after that.
However, sometimes I start to install laminate flooring at the most difficult side of the room instead.
That could be the area that has four doorways in, that are much quicker and easier to manage now at the beginning of the installation when you can still slide the floor backwards and forwards a bit. These areas would be much trickier to deal with at the end, when you have much less room to manoeuvre (there is more detail about laying laminate in doorways further down the page).
If you need to know the tools I use to cut and install laminate flooring with, have a look at my laminate flooring tools list and get yourself set-up first.
How to install laminate flooring step by step
- Step 1: Prepare the floor boards first
Before you can install laminate flooring, you will need to acclimatize the boards by leaving them in the room where you are laying for at least two days. Check the instructions that come with the boards, as this will help prevent problems with the floor shrinking/expanding too much after installation.
- Step 2: Prepare the room you will lay the flooring in
When I install laminate flooring on a timber floor I make sure all screws are countersunk/buried and nail heads are punched down below the surface first.
Concrete sub-floors will need to be level and may even need Latexing or another leveling compound applied in the worst cases to ensure the floor is flat enough for a floating floor to be laid.
A waterproof membrane will need to be laid before you can install laminate flooring on top of the concrete oversight too.
Unless fitting a cover bead over the expansion gap because the skirting ins already fitted, I will generally cut the skirting boards around temporarily and once they fit remove them and put to one side to refit later. This reduces the time you spend working on the finished floor after it is laid, when you’ll be more likely to damage it.
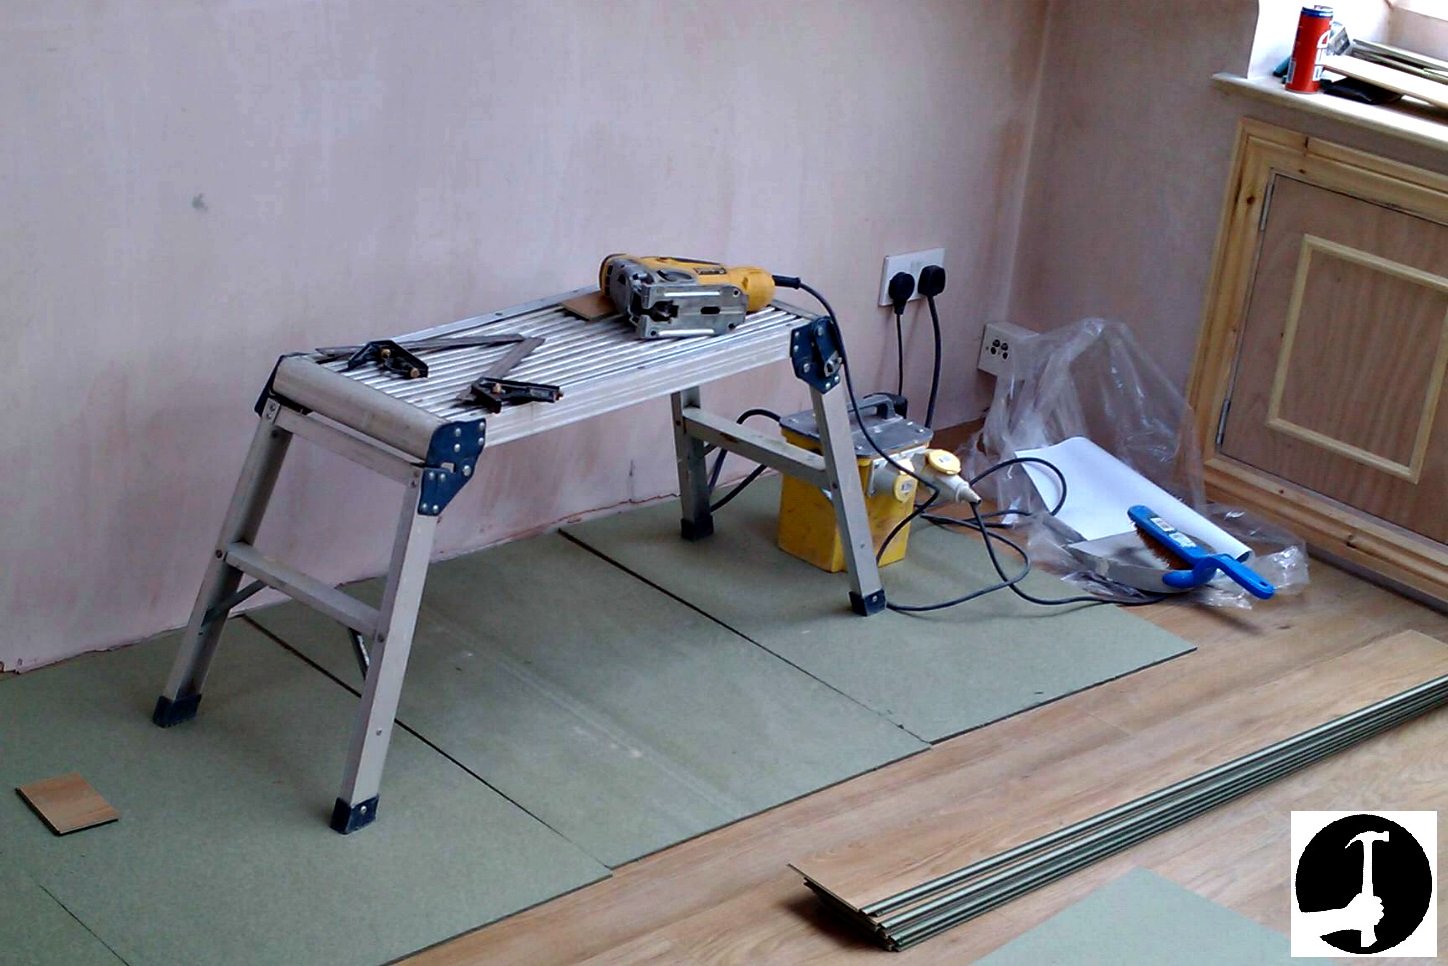
I scrape clean, sweep the floor, and keep it really tidy throughout the day. Any grit on the floor will scratch it so set the saw up at the opposite end to where you will be starting the first rows. Half way through the job, use the cardboard packaging from the flooring to cover and protect a large section of the floor already laid, then later swap over and set up on that side of the room for the second half.
- Step 3: Prepare the doors & door linings/frames for the laminate floor
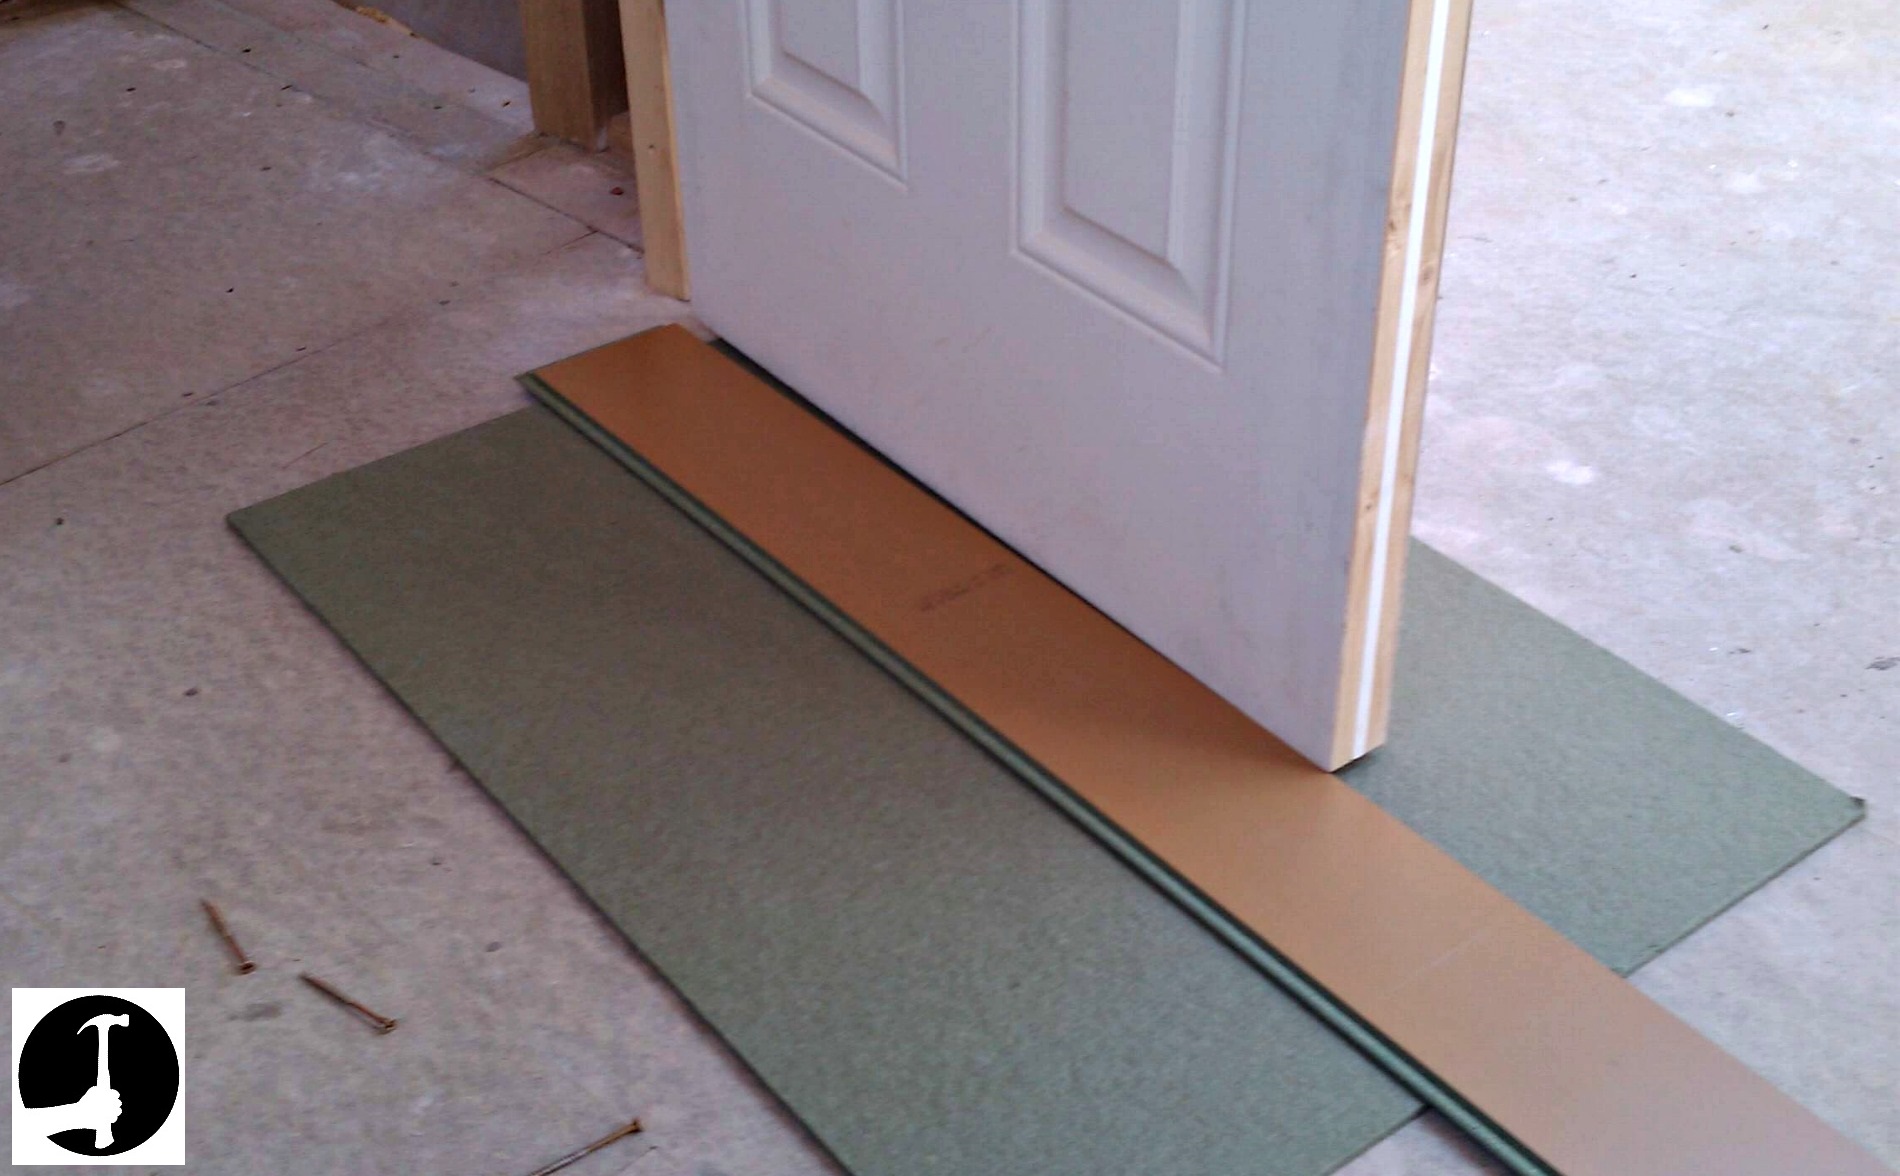
Unless you are laying the wood flooring continuously between two rooms, you need to work out at each doorway where the floor will finish and the threshold transition strip will be. These need to be fitted so they are under the center of the door when it is closed and so can't be seen from either side unless the door is open.
Cut it to length, so it fits tightly between the legs of the door lining.
Transfer the centre point of the threshold onto the door frame, then get an off-cut each of the underlay and a floor board. Lay the board upside down and place it on the underlay against the architrave. Using a thin, fine-cut handsaw saw the bottom of the architrave and door lining off so the flooring can slide neatly underneath it. By cutting to the centre of the threshold, you will leave enough of an expansion gap without cutting so much a hole is visible after laying the floor.

I use a sharp chisel to carefully clean it up underneath if it needs it. I never try and cut laminate flooring around architraves or door frames because you need to leave an expansion gap. this gap can be hidden underneath the frame and architrave moulding instead, and appears as though they were installed on top of the laminate flooring. It's also 10x easier to do too!
Sometimes the easiest place to start to install laminate flooring is at the doorways, because they're trickier when you do them last.

After that mark the bottom of the doors using the same method. Mark the door in both it's open and closed positions in case the floor or frame are out of level and cut/plane to whichever line means taking the most off.
Every time I install laminate flooring I remove the doors and cut the bottoms first, then leave them off so they are well out the way.
- Step 4: Choose which direction to install
Laminate flooring should either be laid in the same direction that the light shines into the room, or if there are windows all around along the longest wall.
- Step 5: Install the correct underlay for your laminate floor and sub-floor
Once you have checked which is the best underlay, it will most likely be supplied in a roll or as square tiles. If it is square tiles just lay enough to get the first few rows down, and lay the tiles in the opposite direction to which the floor boards will go down. Underlay is easy to trip over and sometimes harder to sweep dust off than the floor underneath so just put down all you need to to start. Also, stagger the underlay tiles like brickwork so that you don't just lay a grid of tiles. This helps them stay put and adds strength by spreading loads.
If you have a roll of underlay it again needs to be laid the opposite direction to the floor and you should tape the joints to stop it either from moving apart or from overlapping under the floor.

- Step 6: Start laying the first row of floor boards
Laying from left to right and with the tongue facing the wall get the first boards clicked together end to end. Use 8-10mm spacers to leave an expansion gap around the perimeter. The last board will need cutting to length. To do this turn it back to front, keep it 10mm away from the wall and mark the end of the row onto it. You can use a tape instead, measure from the wall to the end of the row and subtract 10mm. Just remember that if you are fitting to a groove always measure the next board starting from the tongue end, and vice versa. Square the line across the board with a combination or Tri-Square.
A good way of setting out boards when you come up against an obstacle or corner is like in the picture below, by clicking the next row / board in temporarily. This gives you something to measure from in case the wall isn't perfectly 90° and/or is out of square as the exact shape of the board to cut is highlighted. You can mark out the missing board by measuring the gap, just remember to allow for the expansion gap too.

- Step 7: Clicking the boards together
When I first learned to install laminate flooring I would get a few boards clicked together, get to the end of a row and when fitting the last board in the first in that row would pop out!
It can get frustrating if you let it. Spend five minutes at the beginning getting the hang of clicking the tongue and groove together. With one board flat on the floor, the next should be up at around 30°. As you push the tongue into the groove wobble the board up and down as you lower it down flat and it should slide into the groove. Every type of flooring is different but once you find the right angle to hold the board as you push it in you will get the hang of it and start to pick up speed. If I'm working on my own, sometimes I put full packs of flooring on the boards already laid so that the joints can't lift up and pop out.

- Step 8: How to cut laminate boards
All types of man made board like MDF, plywood and laminates that contain glues and resins will take the edge off saw blades much more quickly than natural timber. I only cut laminate flooring using either a Hard point handsaw specifically designed for laminated materials or more often with a downward cutting laminate specific blade in my jigsaw.
If you don't have downward cutting blades you'll need to mark and cut the board face down.
As you install the laminate flooring, avoid letting a repeat pattern form and stagger the joins in a random fashion
When you cut the last board of the first row to length, you can use the off-cut from it to start the next row as long provided it is 150mm long (6"). Always wherever possible avoid having a piece shorter than that.
However if you only continue like this, a clear pattern will emerge which looks awful as each join travels down across the floor in a repetitive manner.
So instead stagger the end joints so that no obvious pattern is repeated, making sure the boards always stagger by at least 150mm (never less). Don't do this in such a way
- Step 9: How install laminate flooring under radiators, cutting the boards for pipes
Radiator pipes in the UK often come up through the floor and the laminate floor needs to be cut and fitted around them.
There are a couple of ways you can plan for and tackle this, depending on the direction of the radiator compared to the flooring (in line or opposing)

The first method is to start the row at the pipe and join the ends of the boards either side of it.
For this you can join the two boards end to end and put them on a scrap piece of timber. Mark the position of and drill the hole for the pipe (slightly larger to allow for expansion) and then detach them and install.
The second way is to drill the hole for the pipe and then cut a keyhole shape behind it towards the wall with a thin hack saw blade, like in the second picture. Because you cut a keyhole shape, when you refit the small piece it can slide closer to the pipe and close up the gaps made by the saw blade.
You will need a larger hole than the size of the pipe so you can manoeuvre the board up and down to click it in and to allow for expansion. Pipes expand and contract and will creak if you install laminate flooring boards too tightly around them. Don't worry about the expansion gap around the pipes, I just buy some neat little radiator pipe covers to clip on and cover the gap.

Finally, get the last floor boards in
To get the last laminate floor board in I rip it down so it is 10mm narrower than the gap that is left. Then, I use an old chisel to lever it in off the wall like in the picture below. This can sometimes be tricky you have to wiggle the board up and down until you feel it locate. If there's a long run left I usually join all the rips together end to end and fit them as one piece, working my way along and tapping it in with the special bar.
Make sure you put a piece of scrap timber against the wall to protect it when levering especially if the walls are stud-work, otherwise you could make a nice big hole in the plasterboard.
 |
 |
Now you've installed a perfect floor, what comes next?
Once the floor is laid you can cut and fix the skirting boards around the room (if laying beading it's done the same way)
Or click here to go back to the main laminate page.

Have a comment or question about how to install laminate flooring?