Finish Carpentry
2nd Fix / Fixing carpentry tips
In America it's called trim or finish carpentry. In the UK it's called 2nd fix carpentry and in Australia where i'm currently working they call it fixing carpentry. Whatever you want to call it, this section covers all the carpentry jobs that will be visible to the client after the framing and roofing stages of the job. Some of those jobs include hanging doors, installing Architrave, Skirting, Dado Rails and other decorative mouldings, plus fitting ironmongery like locks and latches.
It's easily my favourite and most satisfying part of the job and the one where accuracy and attention to detail is most important. Mitres and scribes need to fit tightly. Fixings need to be hidden or disguised and timber should be planed and sanded perfectly smooth.
General 2nd fix
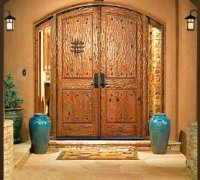
Doors
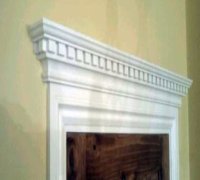
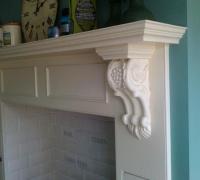
Architrave
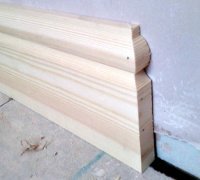
Skirting boards
Shelves
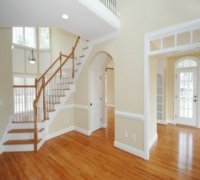
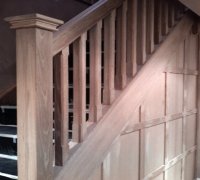
Stairs
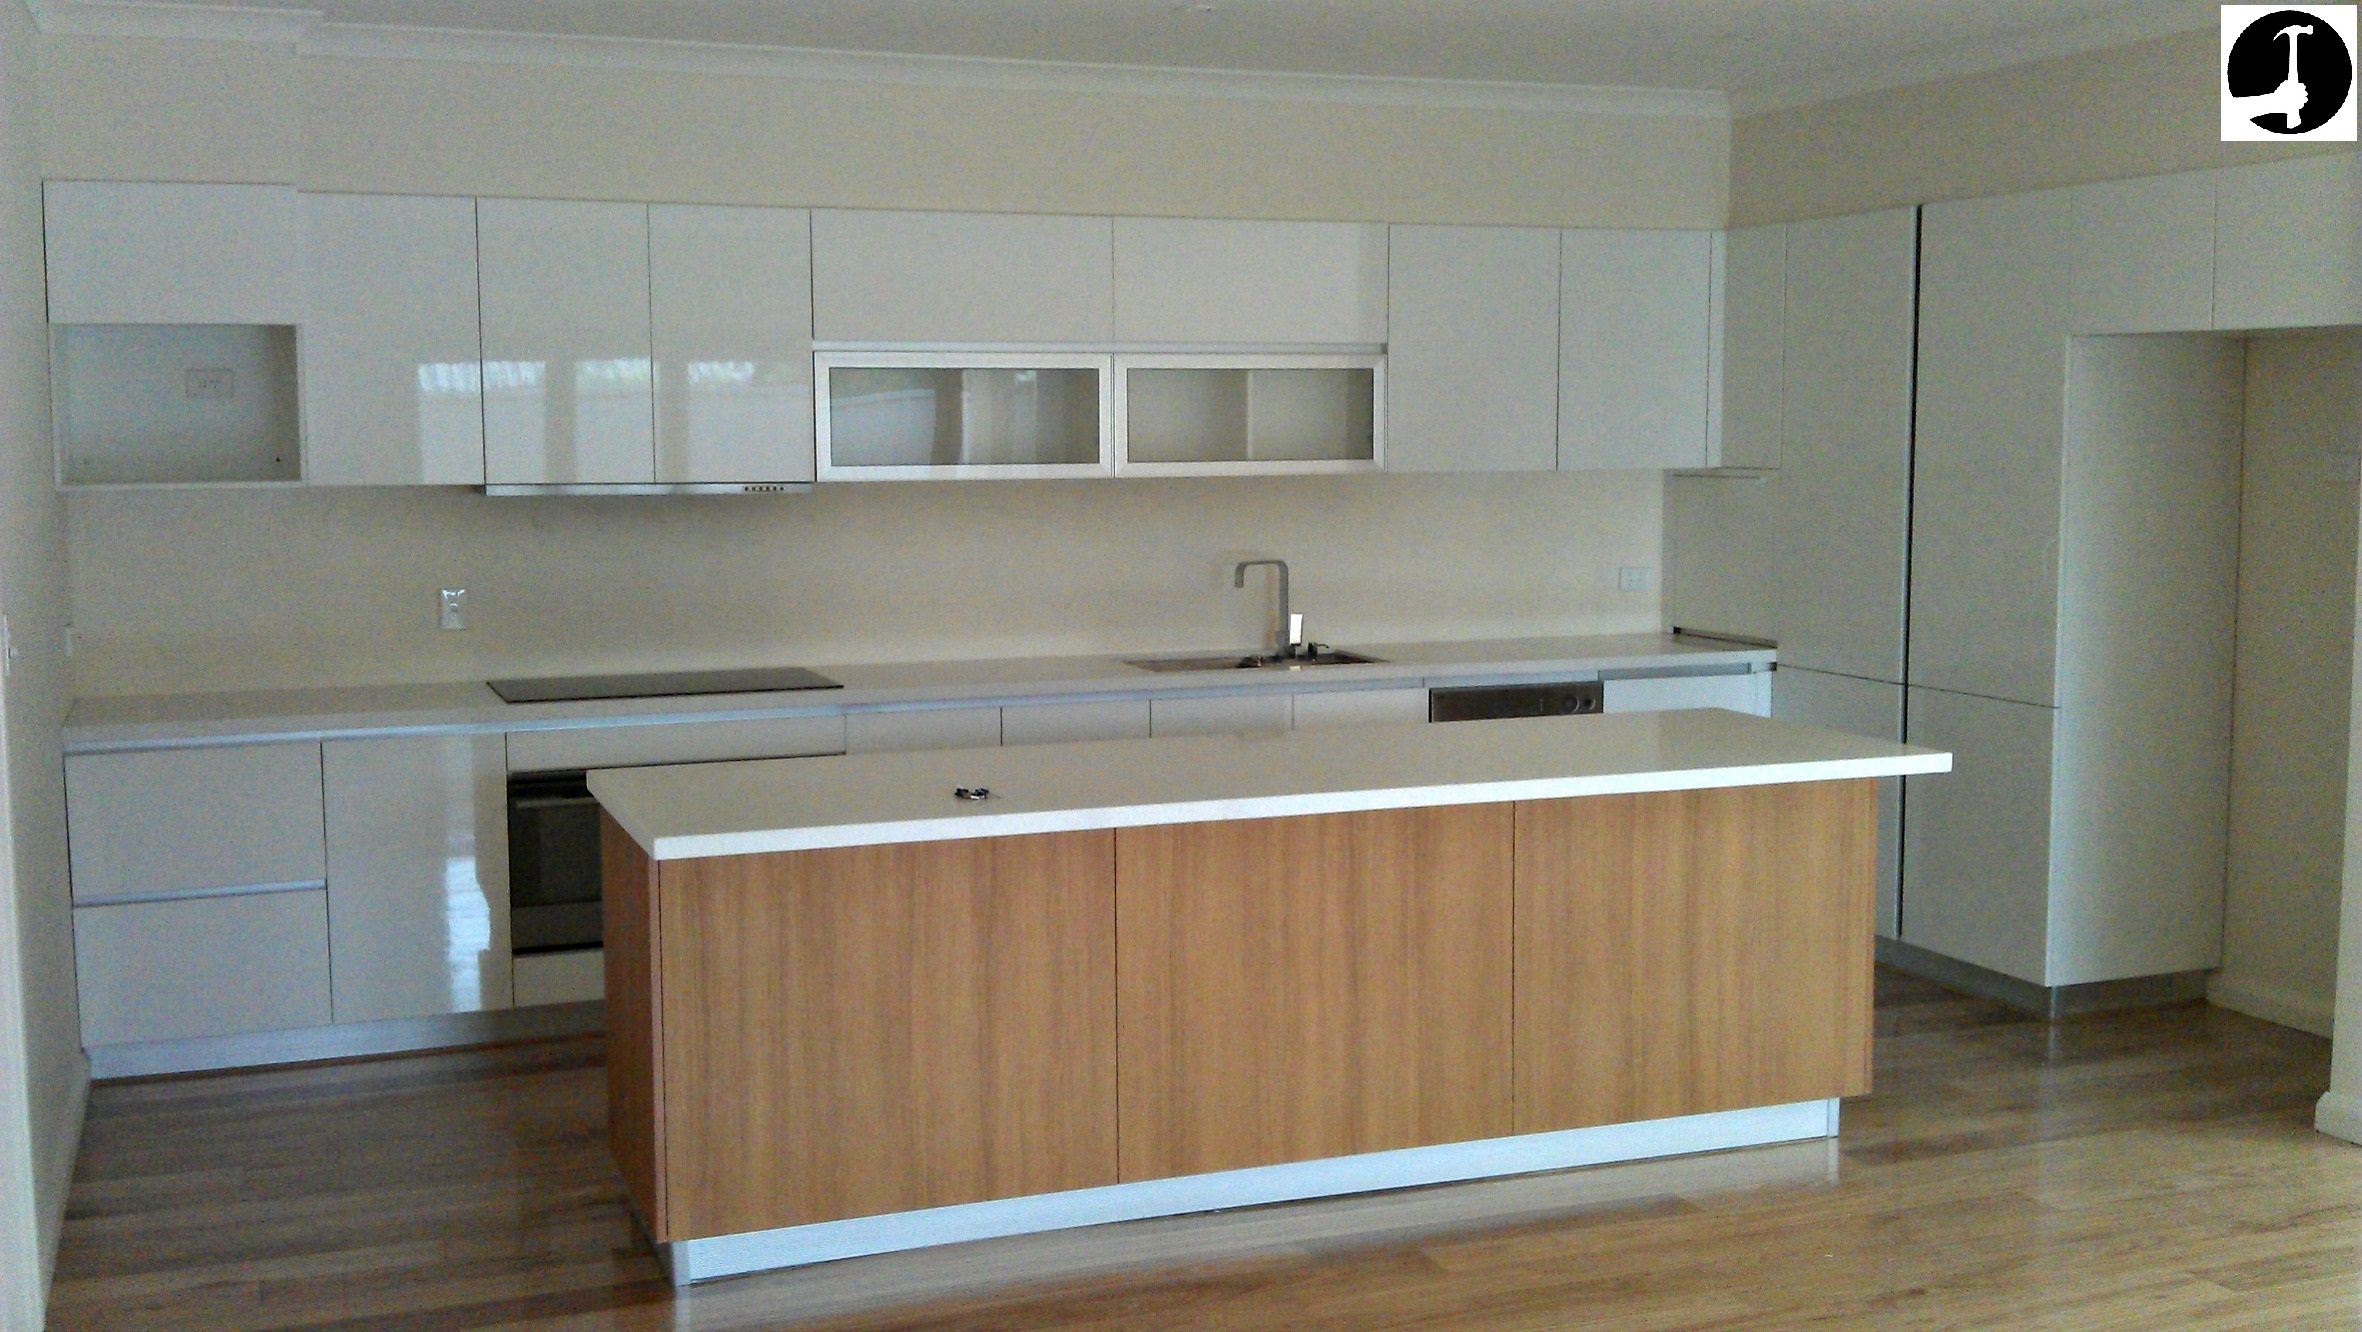
Fitting Kitchens / Bathrooms
Random stuff